How to Spec Engraved Labels on a Panel Drawing and BOM
The panel is built, the door is drilled, and the labels that arrive say something slightly different from what you meant. Most of the time the cause is the print, not the engraver.
Important Disclaimer
This article is provided for general informational purposes only and does not constitute legal, safety, or professional compliance advice. Regulations, standards, and codes are subject to change and may be interpreted differently by authorities having jurisdiction (AHJ). Always consult with qualified safety professionals, licensed engineers, or legal counsel to determine the specific requirements applicable to your facility. TagBuilder is not responsible for any actions taken based on this information.
Why labels go wrong at the drawing stage
An engraved plate is made exactly from the text and dimensions it is given. If the legend lives in an email thread, the size is implied by a photo, and the color is assumed, someone has to guess, and a guess on a 40-plate order is expensive to redo.
The fix is to treat engraved labels like any other purchased component. Give them a schedule on the drawing set, a callout on the layout, a BOM line, and a short general note that covers everything the schedule does not repeat.
The nameplate schedule sheet
The schedule is the single source of truth for every plate on the job. Put it on its own sheet, or on the layout sheet if the panel is small. Each row is one plate, and each plate needs the same set of fields:
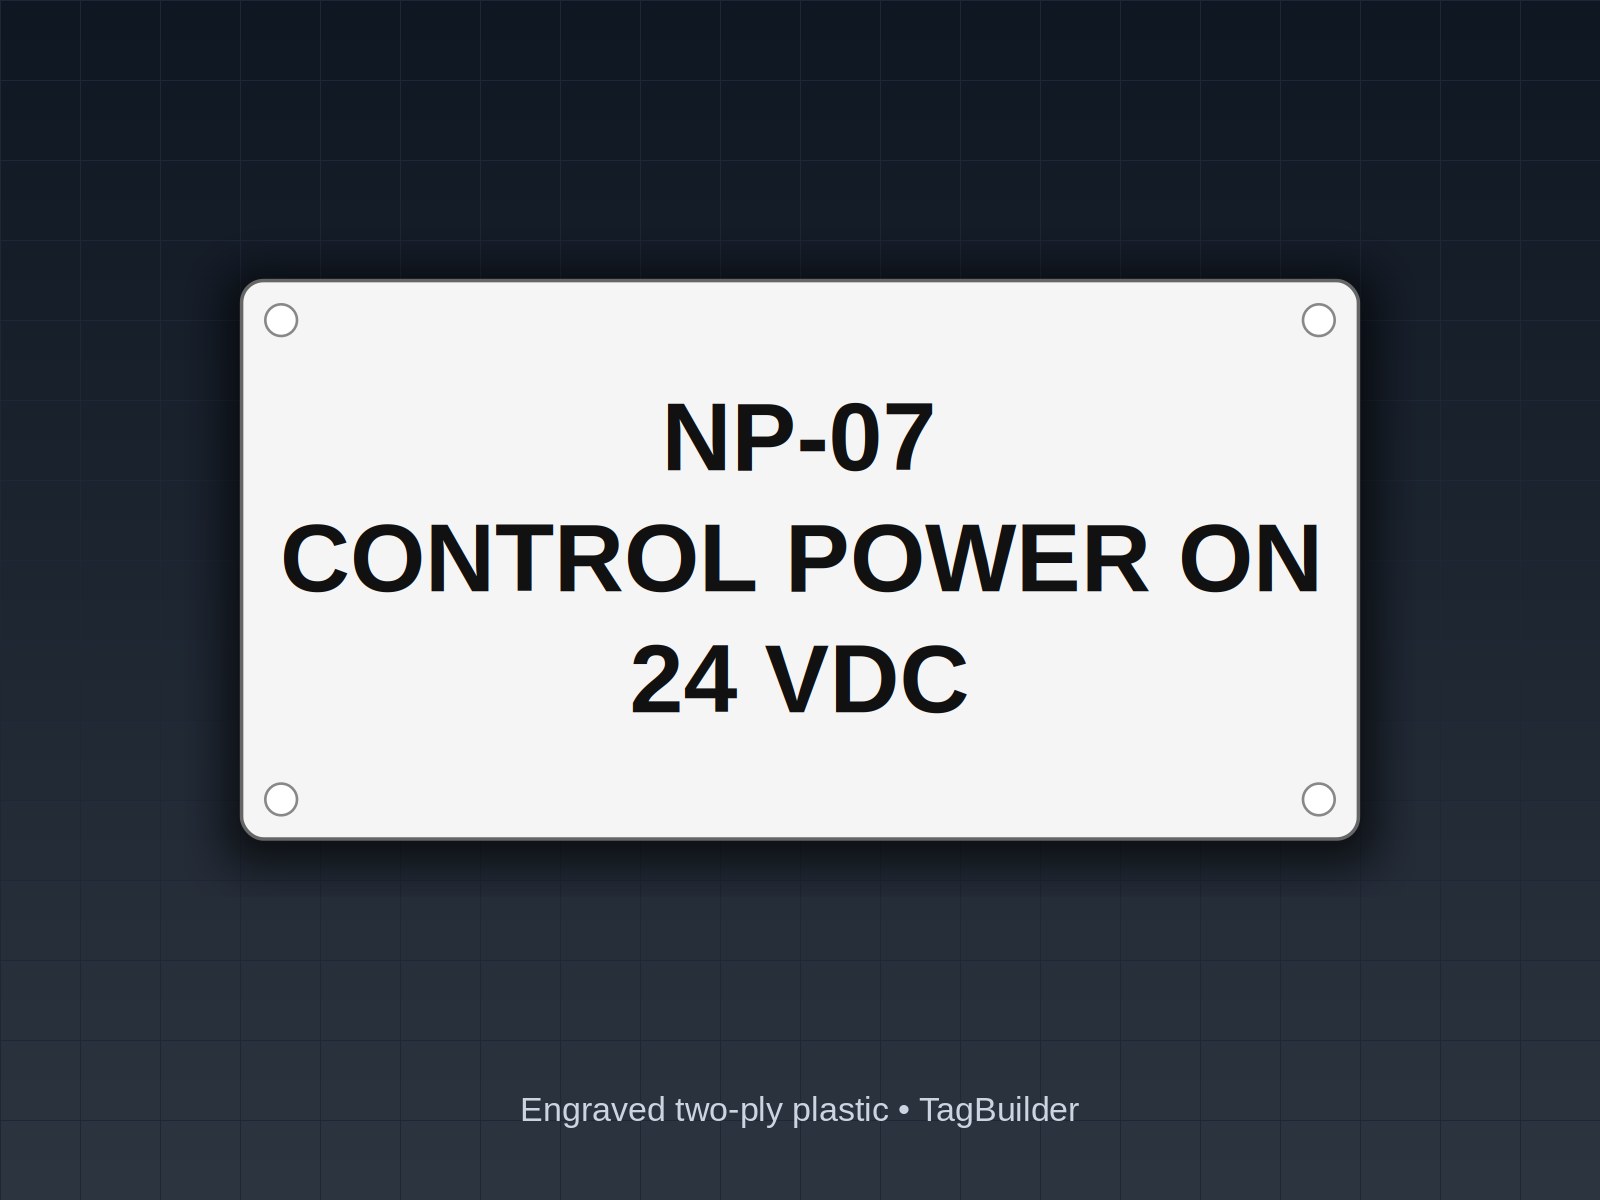
- Tag number: a short unique ID such as PB1 or NP-07. This is what ties the plate to the layout.
- Legend text, line by line: one cell per line, exactly as it should be engraved, including punctuation.
- Size: width by height in inches (or mm), not "small" or "standard".
- Plate and text color: for example white letters on black, or black letters on yellow.
- Mounting: holes (with count and diameter) or adhesive backing.
- Quantity: per panel, so the total can be multiplied by the number of panels.
A seventh column for the device the plate belongs to (the pilot light, the disconnect, the terminal block) is optional but helps the person installing it.
Sample schedule
| Tag | Legend (line 1 / line 2) | Size (in) | Color | Mounting | Qty |
|---|---|---|---|---|---|
| PB1 | START / PUMP 1 | 2.00 x 0.75 | White on black | Adhesive | 1 |
| PB2 | STOP / PUMP 1 | 2.00 x 0.75 | White on black | Adhesive | 1 |
| SS1 | HAND - OFF - AUTO | 2.50 x 1.00 | White on black | Adhesive | 1 |
| PL1 | RUN | 1.50 x 0.50 | White on black | Adhesive | 1 |
| DS1 | MAIN DISCONNECT / 480V 3Ø 60Hz | 3.00 x 1.50 | White on black | 2 holes, 0.19 dia | 1 |
| ES1 | EMERGENCY STOP | 2.50 x 1.00 | Black on yellow | Adhesive | 1 |
Notice that DS1 has a phase symbol and ES1 has a different color. Anything that departs from the general note gets called out in its own row.
Callouts on the layout drawing
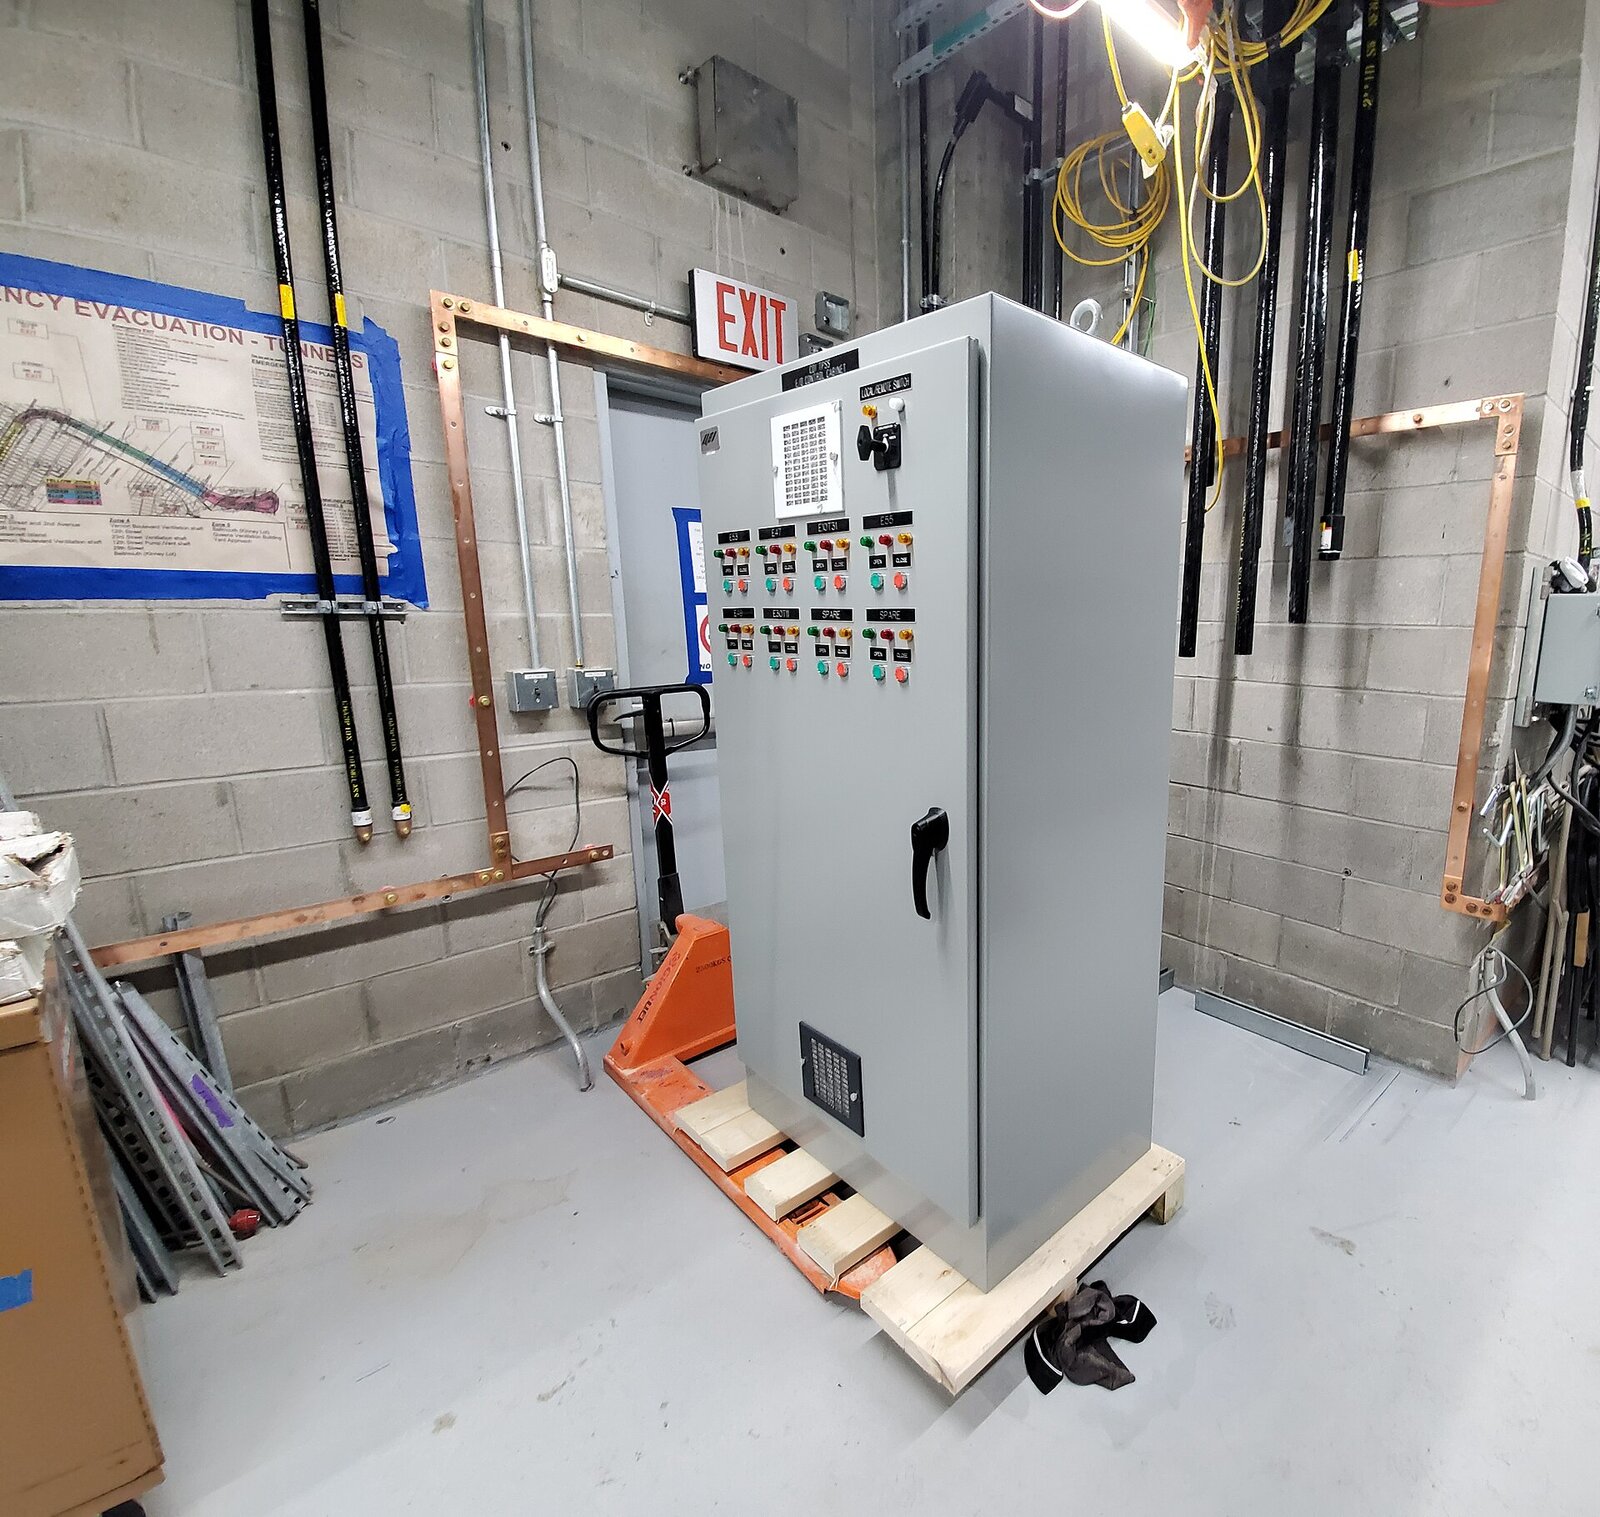
On the door or backpan layout, mark each plate with its tag number in a small balloon or rectangle next to the device, and nothing else. Do not retype the legend on the layout. When the text appears in two places, the two places will eventually disagree.
Draw the plate outline to scale if you can, so the installer sees whether it clears the mounting hardware and the adjacent device. If there is a dimension from a fixed edge, such as 0.25 in below the operator, give it once on the layout, not in the schedule.
The general note block
A short note keeps the schedule from repeating the same data in every row. Here is one you can copy and edit:
Drawing note, copy and adapt: NAMEPLATES PER SCHEDULE, SHEET 4. ENGRAVED TWO-PLY PLASTIC, WHITE LETTERS ON BLACK, 1/16 IN THICK, SQUARE CORNERS, UNLESS NOTED. MOUNTING HOLES OR ADHESIVE BACKING AS SCHEDULED. TEXT AS SHOWN IN ALL CAPITALS. SCHEDULE GOVERNS OVER ANY LEGEND SHOWN ELSEWHERE IN THE DRAWING SET.
That last sentence matters. It tells the reader which document wins when the layout, the schematic and the schedule disagree, and it removes the argument before it starts.
A BOM line that orders the right thing
The BOM line should point at the schedule rather than try to hold the legends. A format that works in most ERP and spreadsheet BOMs:
BOM line, copy and adapt: NAMEPLATE, ENGRAVED 2-PLY PLASTIC, WHT/BLK, 1/16 THK, PER NP SCHEDULE SHT 4 REV B, TAGS PB1-PB2, SS1, PL1, DS1, ES1, QTY 6 PER PANEL
Include the schedule sheet and revision. A BOM line that says only "nameplates, qty 6" forces whoever buys them to dig for the legends, and they will dig in whatever revision they happen to have open.
Many shops order a labeled kit per build straight from the schedule: one bag per panel, with plates sorted and marked by tag. If that is how you work, say so on the BOM line and the plates arrive ready to install rather than in one loose pile.
Letter height and sizing conventions
There is no single rule for letter height, and many specs leave it to the designer, so check your customer's spec and the current edition of whichever standard governs your panel. As a rough working guide, many panel builders use:
- About 1/8 in as a practical minimum for small device legends and secondary lines.
- 3/16 to 1/4 in for operator device legends such as pushbuttons and selector switches.
- 1/2 in or larger for a main disconnect or a panel title plate that has to read from across the room.
Size the plate from the text, not the other way around. Leave a margin around the legend, add room for mounting holes if they are scheduled, and count characters on the longest line before you commit to a width. For more on how legends and sizing tie to panel requirements, see our guide to UL 508A control panel nameplate requirements.
The classic errors, and how to avoid them
Legend text buried in a Word document
If the legends are in a separate document, they will not be revised when the drawing is revised. Put the text in the schedule on the drawing. If a document is unavoidable, reference its number and revision on the schedule.
Quotation marks and symbols lost in CAD text
CAD text styles often substitute or drop characters. Degree, diameter, plus-or-minus and ohm symbols are the usual casualties, and they can turn into question marks or boxes when a drawing is exported. Straight versus curly quotation marks can also change in transit, and an inch mark is not the same as a closing quote. Type symbols the way your CAD program expects them, then check the exported PDF, and spell out anything risky in the schedule notes, for example "PHASE SYMBOL: O WITH DIAGONAL LINE".
Mixed case versus capitals
Industrial legends are commonly all capitals, but units are the exception: kV, mA, Hz and kW are written with specific case, and "MA" is not "mA". State on the schedule whether the text is to be engraved exactly as typed or converted to capitals.
Degree and phase symbols
Write 3Ø or 3 PH consistently across the whole set, and the same for degrees (90° C or 90 C). Pick one style and put it in the general note.
A schedule that does not match the layout
If PB3 is on the layout and not in the schedule, the plate does not get made. If the schedule has a plate with no home on the layout, it gets made and nobody knows where it goes. Cross-check tag numbers both ways before the drawing is released.
Send one line of your nameplate schedule and we'll engrave a sample plate to that spec and mail it, no charge.
Frequently Asked Questions
Should the legend text go on the layout drawing or only in the schedule?
Only in the schedule. The layout carries the tag number and the position. Keeping the text in one place means one revision updates every plate, and the person ordering never has to reconcile two versions.
Do I need to list the thickness on every row?
No. Put thickness, material, corner style and default colors in the general note, and use rows only for exceptions. A typical default is 1/16 in engraved two-ply plastic, with thicker stock or stainless called out per plate when the environment calls for it.
How do I show a two-line or three-line legend?
Give each line its own cell or its own line within the cell, in the order it should appear from top to bottom. If line breaks matter, say so in the notes, because a long line in a spreadsheet cell can wrap and be read as two.
Should I specify the font?
Only if the customer requires one. Most panel work uses a plain, single-stroke block style, and naming it in the general note is enough. Fancy or condensed fonts shrink the usable letter height on a small plate.
What do I do when a customer's spec and my drawing disagree?
Resolve it before ordering, and record the answer on the schedule revision. Where the requirement is a code or standard, check the current edition and ask the AHJ if the wording is open to interpretation.
How many spare plates should I order?
That depends on the job. Some builders add one or two spares of each plate that is hard to replace in the field, and note them as a separate BOM line so the base quantity per panel stays clean.
If you are building the schedule now, our panel nameplates page lists stock sizes, and how it works walks through what we need from you to start. If you would rather see a plate first, you can request a free sample made to one line of your schedule.
UL, NFPA, NEC, ASME, CEMA, TIA, ANSI and OSHA are names or marks of their respective organizations; TagBuilder is not affiliated with or endorsed by any of them. Requirements above are paraphrased summaries, not the text of any standard. Always work from the current published edition and your AHJ.