From Panel Schedule to Engraved Breaker Labels: NEC 408.4 Done Once
The panel schedule is finished, the breakers are landed, and the only thing left on the door is a hand-written paper directory that will be smudged within a year. Here is how to turn the schedule you already have into one label order, once.
Important Disclaimer
This article is provided for general informational purposes only and does not constitute legal, safety, or professional compliance advice. Regulations, standards, and codes are subject to change and may be interpreted differently by authorities having jurisdiction (AHJ). Always consult with qualified safety professionals, licensed engineers, or legal counsel to determine the specific requirements applicable to your facility. TagBuilder is not responsible for any actions taken based on this information.
Start with the schedule, not the label
A panel schedule already holds everything a label order needs: panel name, voltage and phase, where the panel is fed from, and one line per circuit with a number, a breaker rating and a load. The mistake most jobs make is retyping that information three different ways, once for the directory, once for the door and once for the closeout binder.
Treat the schedule as the single source. Export or copy it into a spreadsheet with four columns: circuit number, breaker rating, load description and label text. Every label in the order comes from that sheet, so the engraved plate, the directory and the as-built drawings cannot disagree.
This article covers the conversion from schedule to labels. For the rule text itself, see the NEC 408 panel labeling requirements guide.
What 408.4 asks for, in label terms
Paraphrased, and always check the edition your jurisdiction has adopted, two parts matter here:
- 408.4(A), circuit identification: each circuit should be identified by a clear, specific purpose, with enough detail to tell it apart from every other circuit in the panel. Spare positions are described as spare. The identification goes on a directory on the face or inside of the panelboard door, or at each breaker in a switchboard.
- 408.4(B), source of supply: panelboards fed by a feeder, other than in one- and two-family dwellings, are marked to show the device or equipment where their power originates. In the field this is commonly written as a FED FROM line.
Notice what the rule does not dictate: it does not say the directory must be engraved, typed or printed, and it does not set a font or a label size. Those are decisions you make, and many AHJs simply expect the result to be legible and durable.
The label set for one panel
A typical panel needs four kinds of labels. The table shows what each says, a workable size and where it mounts.
| Item | What it says | Size | Where it mounts |
|---|---|---|---|
| Panel identification plate | Panel name, voltage and phase, FED FROM line | About 2.5 in x 1 in for short text, 4 in x 1.5 in for three lines | Outside of the door or cover, upper area, clear of the latch |
| Main or feeder disconnect label | Purpose and rating, such as MAIN BREAKER 225A | About 2.5 in x 1 in | Next to the main breaker, or on the deadfront beside it |
| Breaker position labels | Circuit number plus a specific load description | Height set by breaker pitch, see below; width 1.5 in to 2.5 in | On the deadfront or trim beside each breaker, one per position |
| Directory card or plate | Full circuit list, or the loads that change | Sized to the door pocket or inside door face | Inside the door, or on the face of the panel |
Engraved breaker position labels and a directory are not either-or. A common split is to engrave the panel plate, the main label and the circuit labels for permanent loads, and keep a directory for the positions that are likely to change.
Sizes that fit standard breaker spacing
Single-pole breakers sit on a fixed pitch, the center-to-center spacing between positions. Many panelboard series use 3/4 in and others use 1 in, depending on the manufacturer and the product line. Measure your panel rather than assuming, and note that two-pole and three-pole breakers occupy two or three positions.
| Breaker pitch | Label height that fits | Notes |
|---|---|---|
| 3/4 in | 5/8 in or less | Two short lines will not fit; use one line, or a narrow label with small text |
| 1 in | 7/8 in or less | Room for one line of larger text or two compact lines |
| Multi-pole breaker | Pitch times poles, less a small margin | Label the whole breaker once, not each pole |
Leave roughly 1/8 in between neighboring labels so each one clearly belongs to one breaker. Width is limited by the gutter and by what the trim leaves open, so check where the label will actually sit. If your layout is a standard 3 in x 1 in reference label, the 3x1 circuit reference label is a ready-made size to start from.
Writing load descriptions, SPARE and SPACE
This is where the schedule usually needs editing. Descriptions like LIGHTS, RECEPTACLES or MISC tell an electrician nothing at 2 a.m. during a trip. A useful description answers three questions: what is it, where is it, and which one of several similar loads.
- Weak: LIGHTS. Better: LTG CORRIDOR 1 LEVEL 2.
- Weak: RECEPTACLES. Better: RECEPT OFFICE 204 NORTH WALL.
- Weak: AC UNIT. Better: RTU-3 ROOF, SW CORNER.
Use equipment tags and room numbers from the drawings, not people's names or tenants. A description that depends on who occupies a space today goes out of date the day they move, and 408.4(A) specifically cautions against wording that depends on transient conditions of occupancy.
SPARE and SPACE
These two words mean different things and should not be swapped. SPARE is a breaker that is installed but not connected to a load. SPACE is an open position with no breaker, available for future use. Labeling the difference tells the next electrician what can be used without adding hardware. If you expect a spare to be put to work soon, consider leaving that position on the directory card instead of engraving it, so the label is not wrong after the next change.
The main and the 110.22 tie-in
Section 110.22 deals with identification of disconnecting means. In general terms, a disconnect should be legibly marked to show its purpose unless its location and arrangement make that obvious, and the marking should be durable enough for the environment. A main breaker in a panel is a good example of a device people expect to be marked.
In practice, put the main label next to the main and have it echo the panel plate: same panel name, same rating. If the panel is fed from a switchboard or distribution panel, the FED FROM line on the panel plate should name that source and, where useful, the breaker position it comes from, so the feeder can be traced both directions. For larger distribution gear, the PDU and RPP labeling guide shows the same idea at scale.
Worked example: panel LP-2
Here is a 208Y/120V, three-phase panel with 42 positions, fed from distribution panel MDP-1. Below is the panel plate, followed by an excerpt of the schedule converted to label text.
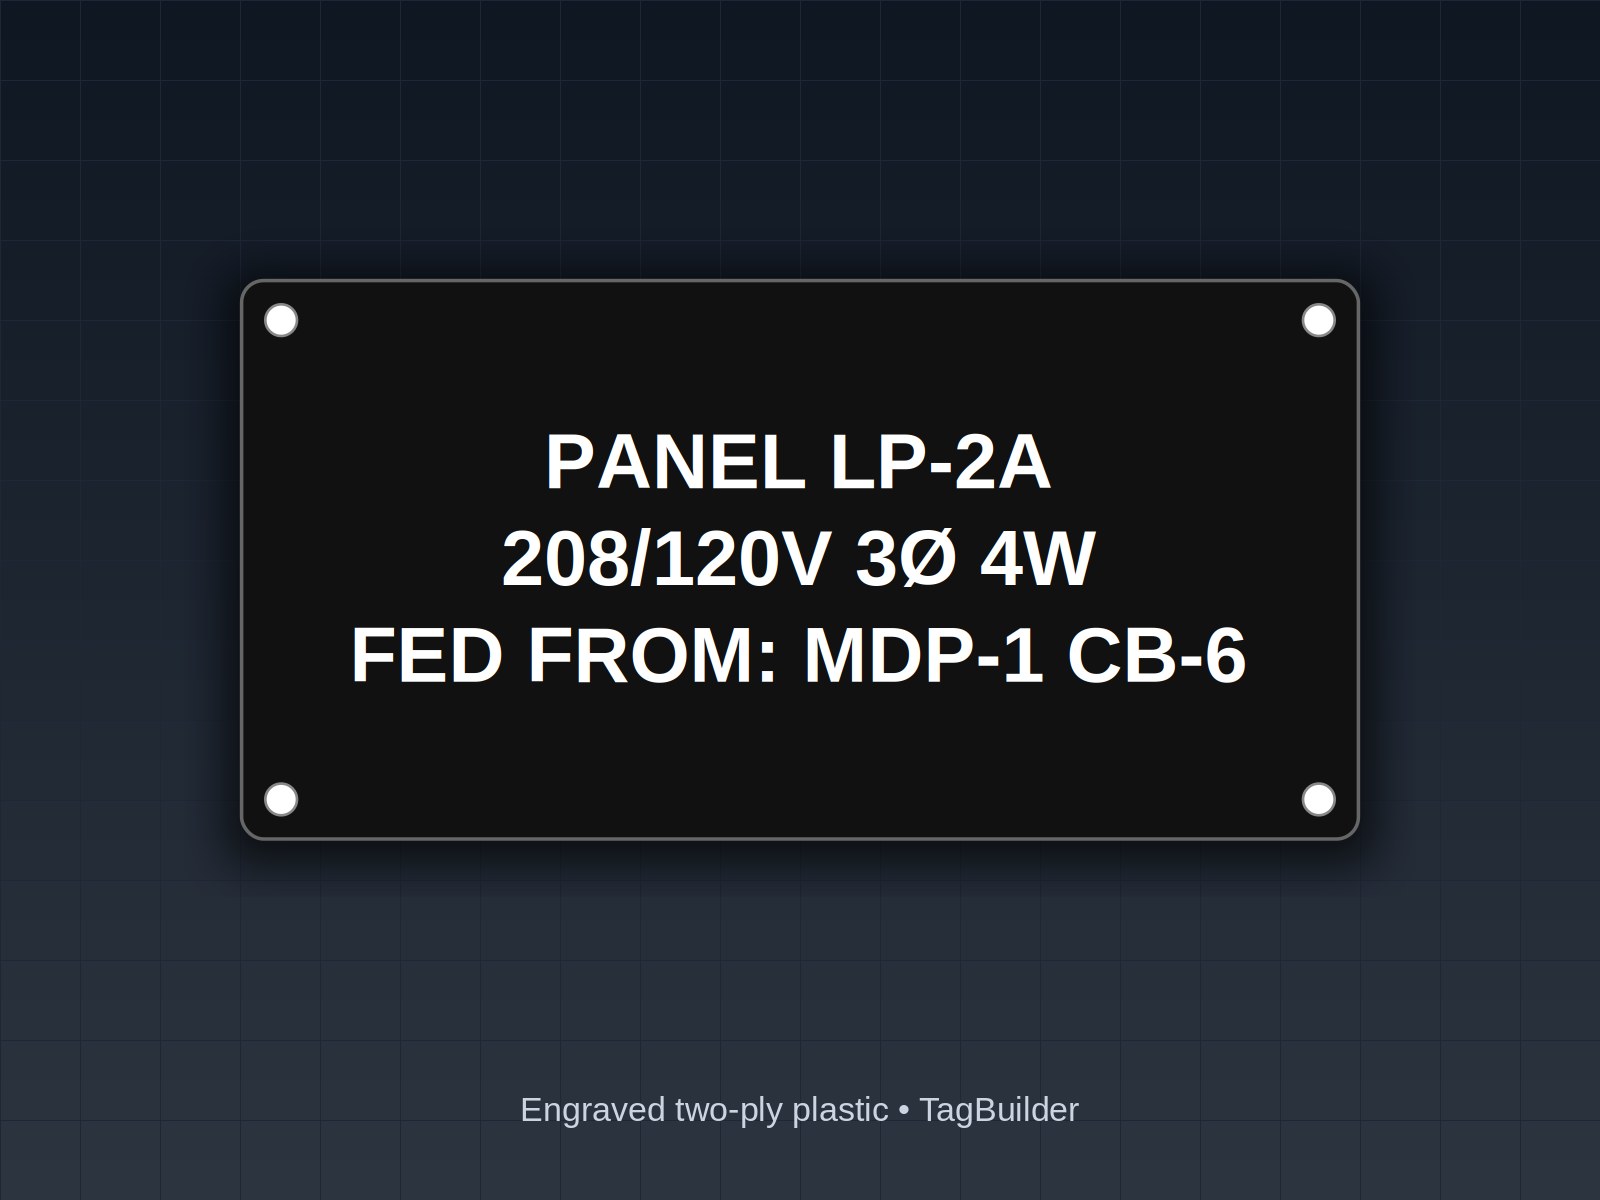
Panel plate (3 lines):
PANEL LP-2
208Y/120V 3PH 4W
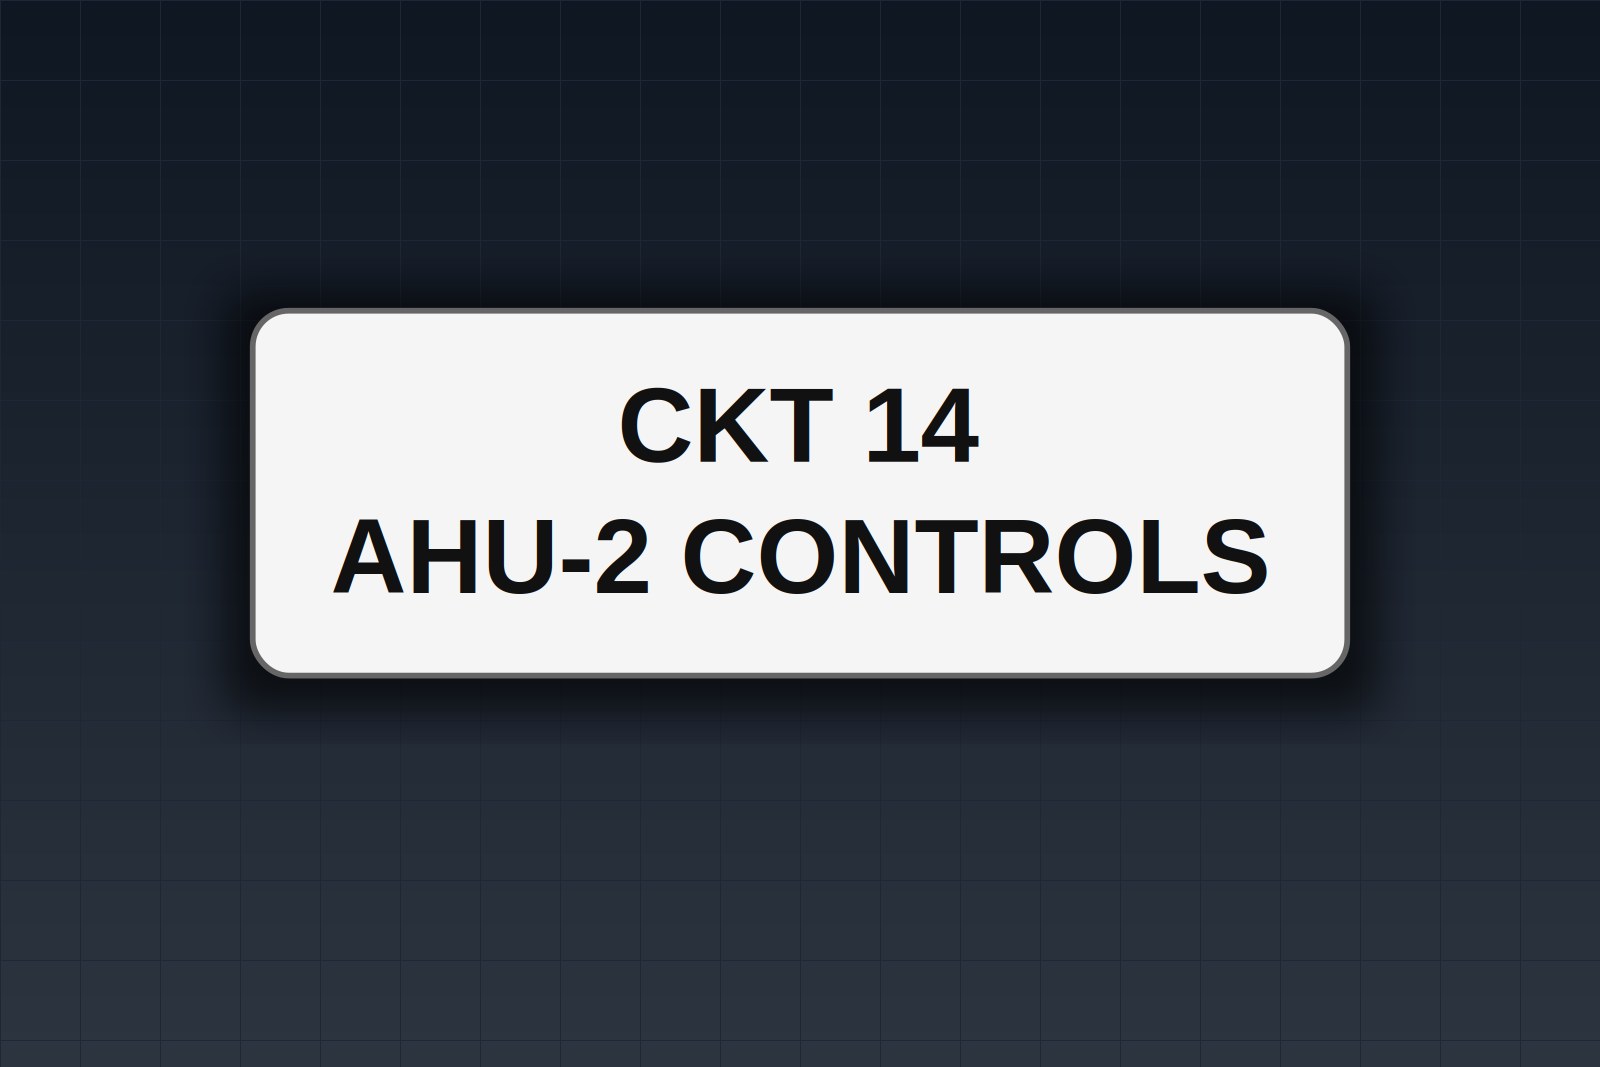
FED FROM MDP-1, CKT 14
Main label: MAIN BREAKER 225A
| Ckt | Schedule entry | Label text | Type |
|---|---|---|---|
| 1 | Lights, corridor | 1 LTG CORRIDOR 1 LVL 1 | Engraved |
| 2 | Receptacles, office | 2 RECEPT OFFICE 104 N WALL | Engraved |
| 3 | Receptacles, office | 3 RECEPT OFFICE 104 S WALL | Engraved |
| 4 | Exhaust fan | 4 EF-2 RESTROOM EXHAUST | Engraved |
| 5, 7, 9 | Rooftop unit, 3-pole | 5-7-9 RTU-3 ROOF | Engraved, spans three positions |
| 6 | Water heater | 6 WH-1 MECH ROOM | Engraved |
| 8 | Unassigned breaker | 8 SPARE | Directory card |
| 10 | No breaker installed | 10 SPACE | Directory card |
With a 3/4 in pitch, each single-pole label above would be cut at 5/8 in high and about 2 in wide, with the circuit number first so it reads from across the room. The 3-pole label for RTU-3 would be a single piece spanning three positions. A shorter plate such as the 2.5 x 1 in panel identification label works for the panel name where the door has room for a one- or two-line plate.
Frequently Asked Questions
Do I have to engrave every breaker label, or can I use a directory card?
The code language is about identification being legible and specific, not about the method. Many shops engrave the permanent items and keep a card for the ones that change. Ask the inspector or AHJ what they expect to see for your project before you order.
Where does the FED FROM line go?
It is commonly placed on the panel identification plate on the outside of the door or cover, so anyone can find the source without opening the panel. Some jurisdictions also want it inside, so check the current edition and local amendments.
What height should a breaker label be?
Keep it a little under the breaker pitch. For a 3/4 in pitch that means about 5/8 in or less, and for a 1 in pitch about 7/8 in or less. Measure the pitch on the actual panel, since it varies by manufacturer and series.
How specific is specific enough?
If two circuits in the panel could carry the same description, it is not specific enough. Add a room number, an equipment tag or a wall location until each one is unique.
Should I label a spare that I plan to use later?
You can, but an engraved SPARE becomes wrong once the position is used. Leaving spares and spaces on a directory card avoids reordering, or you can order a replacement label at the time of the change.
Send one panel ID and a few lines of your schedule and we'll engrave a sample panel plate and mail it, no charge.
If you want to see how the ordering works start to finish, the how it works page walks through it, and the free sample request is the quickest way to check text size and finish on your own panel before committing to a full set. For the rule text behind everything above, go back to the NEC 408 requirements article.
UL, NFPA, NEC, ASME, CEMA, TIA, ANSI and OSHA are names or marks of their respective organizations; TagBuilder is not affiliated with or endorsed by any of them. Requirements above are paraphrased summaries, not the text of any standard. Always work from the current published edition and your AHJ.